Adding people to your team
Create individual Spaces to manage your team's projects. You can easily invite others to join your Spaces and work on plans together, making it easy to coordinate and track progress towards your shared goals.
Step 1. Create the Space
Hover over the icon in the top left corner → Click the Create Space button (circle with a plus sign) → Give your Space a name and choose a design.
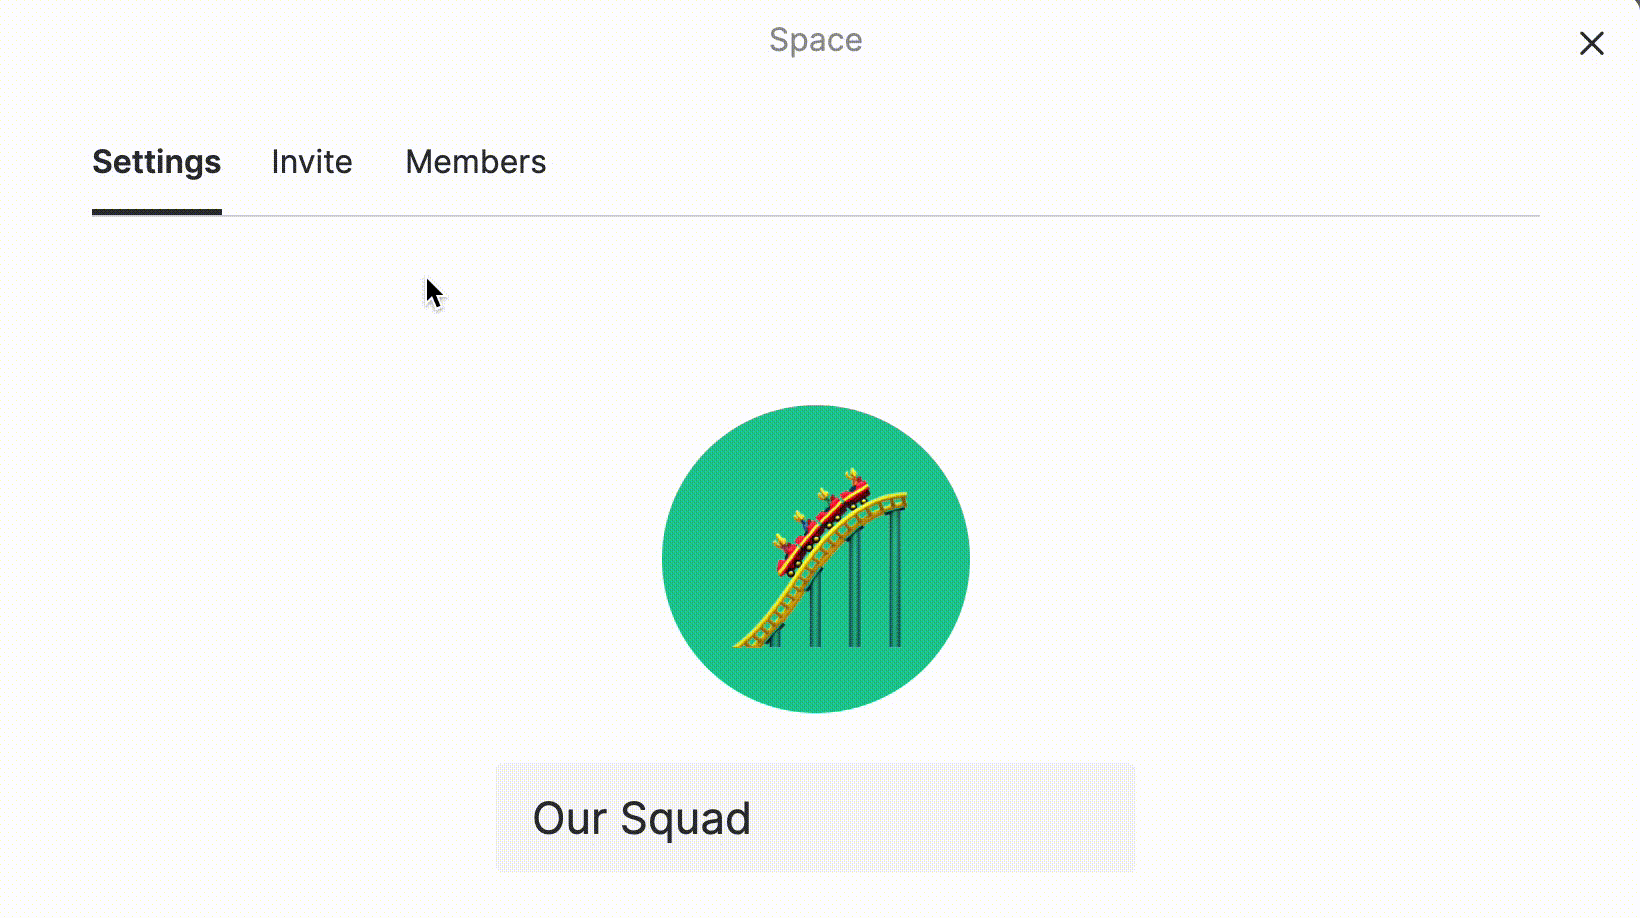
Step 2. Invite your team mates to Space via Magic Link
Enter the settings for your Space → Click “invite” → Press “Copy” → Paste the link to your friend:
Step 2. Invite your team mates to Space via Magic Link
Enter the settings for your Space → Click “invite” → Press “Copy” → Paste the link to your friend:
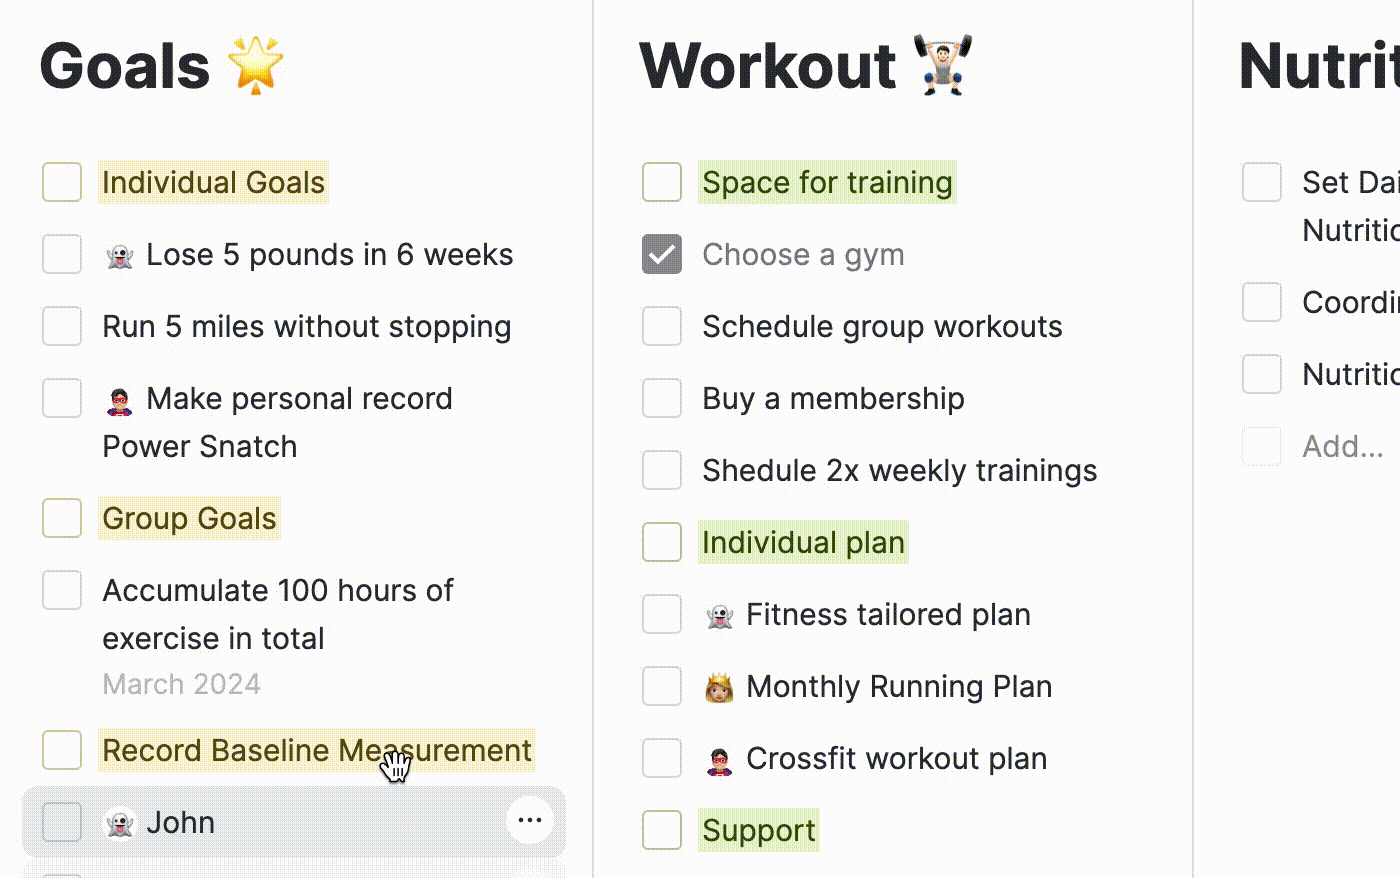
Step 3. Assign a person for a task
Choose any task you like → Click the icon with dots → Press “Assign” and click the person you need:
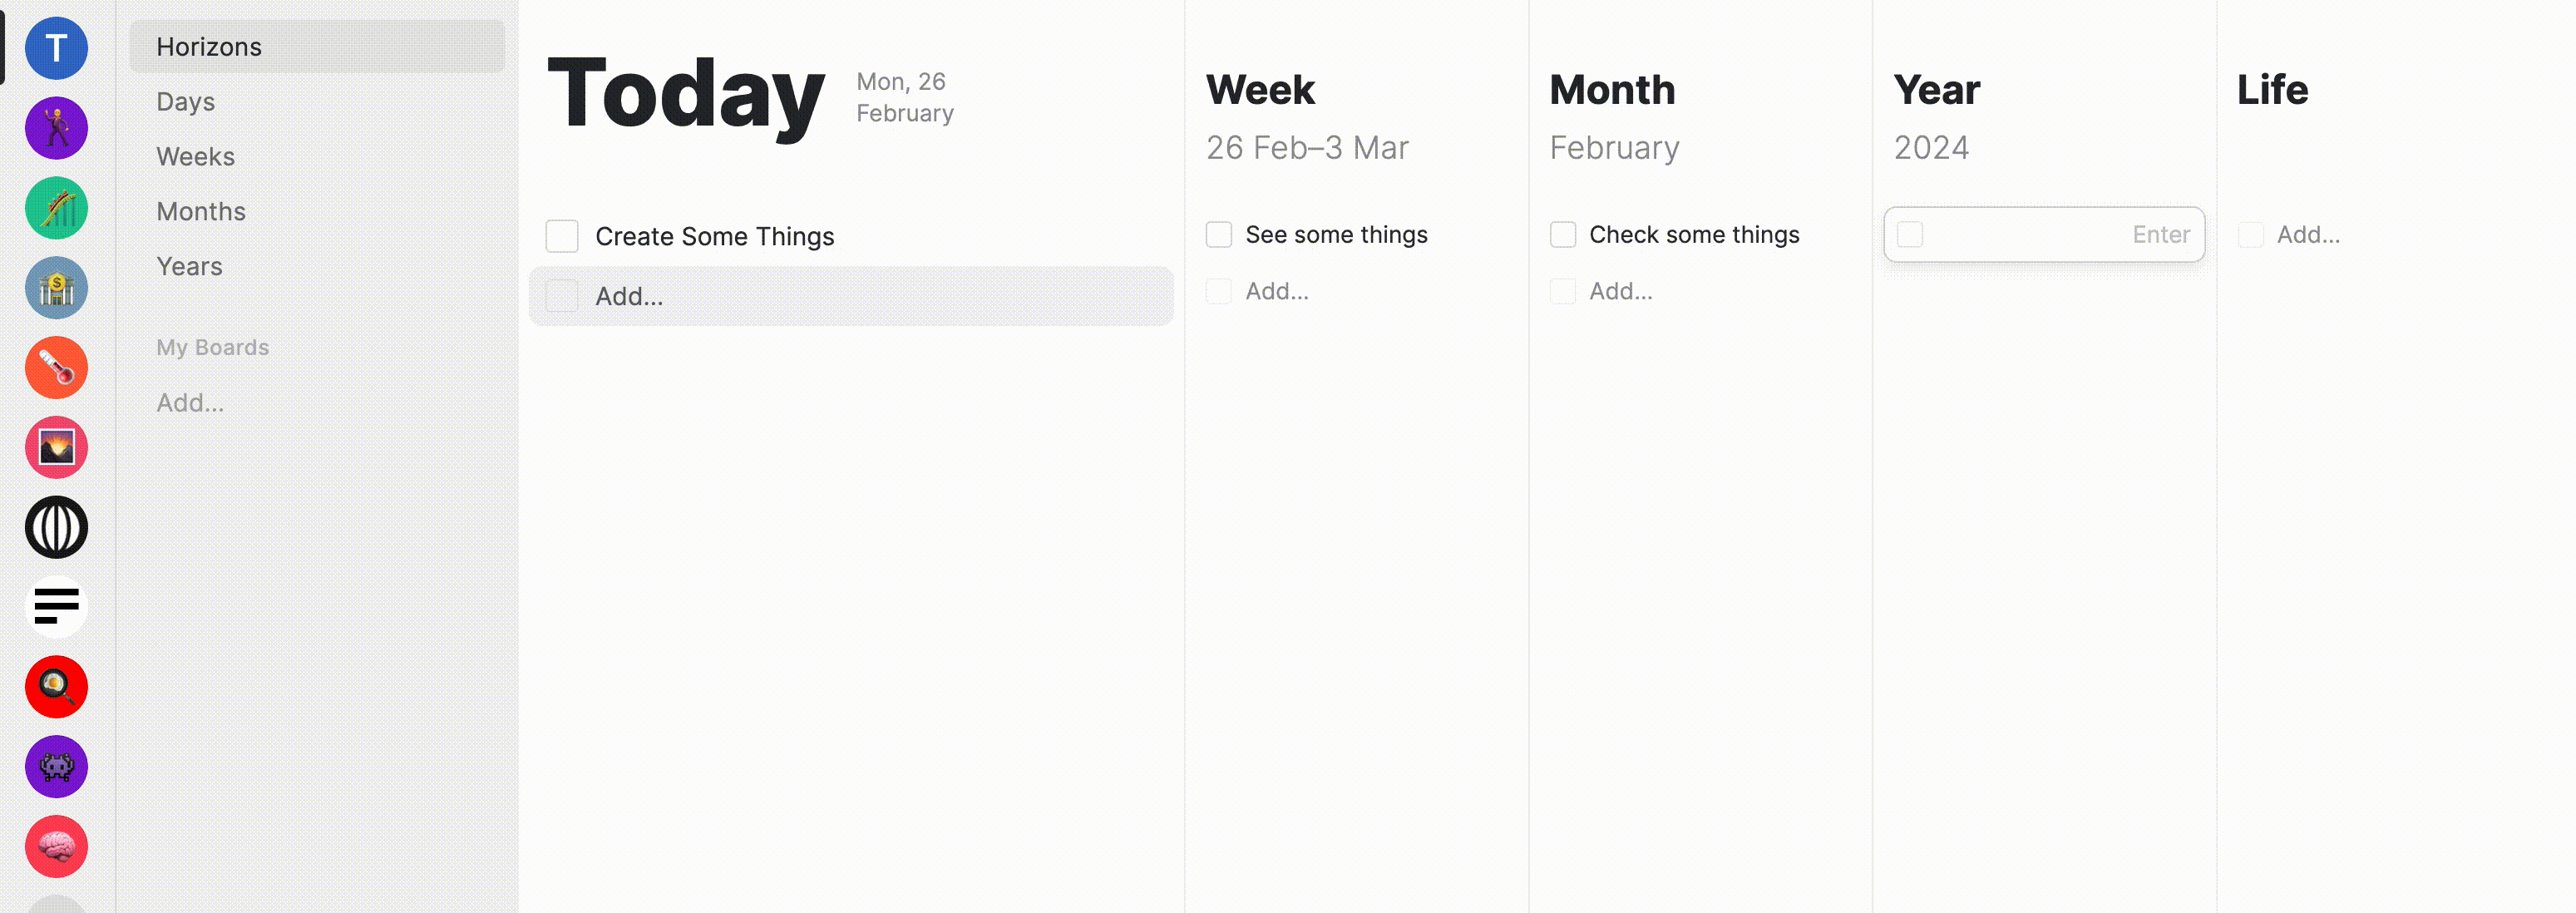
Step 4. View multiple Spaces at once
This feature helps you to pile up all the tasks from multiple spaces in one place. Just point the mouse the Space you need → Shift + Left-clicking.
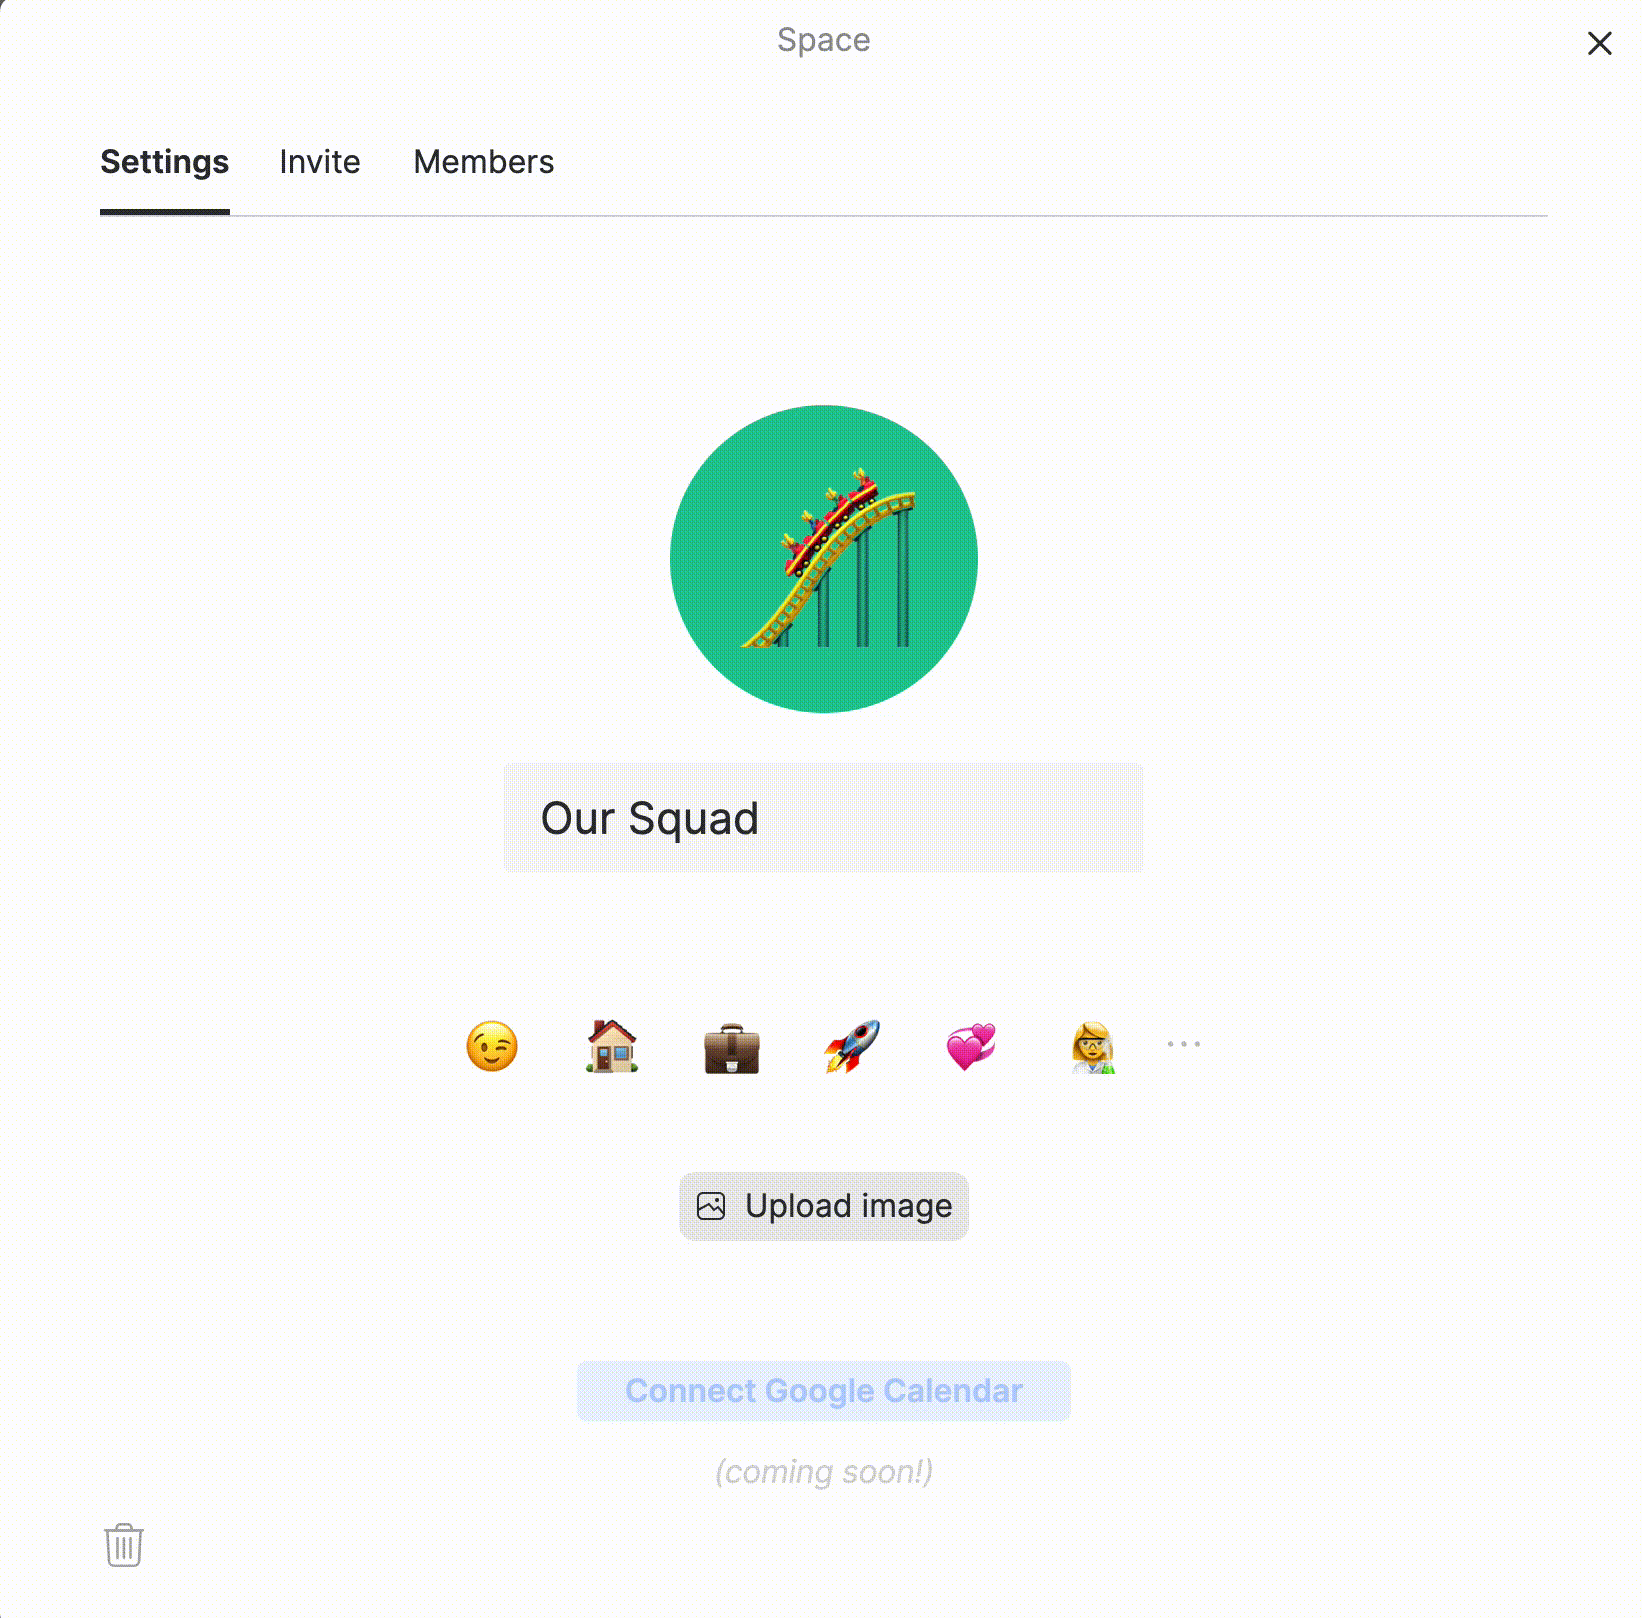
Step 5. Manage the members of the Space
If you are the owner of the Space you can remove people from Space. Go to Settings → Members → Then choose the person you want to remove from Space:
Step 6. Use board templates
You can use templates to create a board. With one click, you can create a Kanban board or a project plan board. In the board gallery you will find a dozen useful boards for different work scenarios.
Read next: